
Garage Door Safety Sensors: How They Work and How to Fix Them
The two small photo-eye sensors near your garage floor are a federally required safety feature, not a minor accessory. Here's how they work, why they act up, and a real troubleshooting sequence to get your door closing again.
What Those Two Little Boxes Actually Do
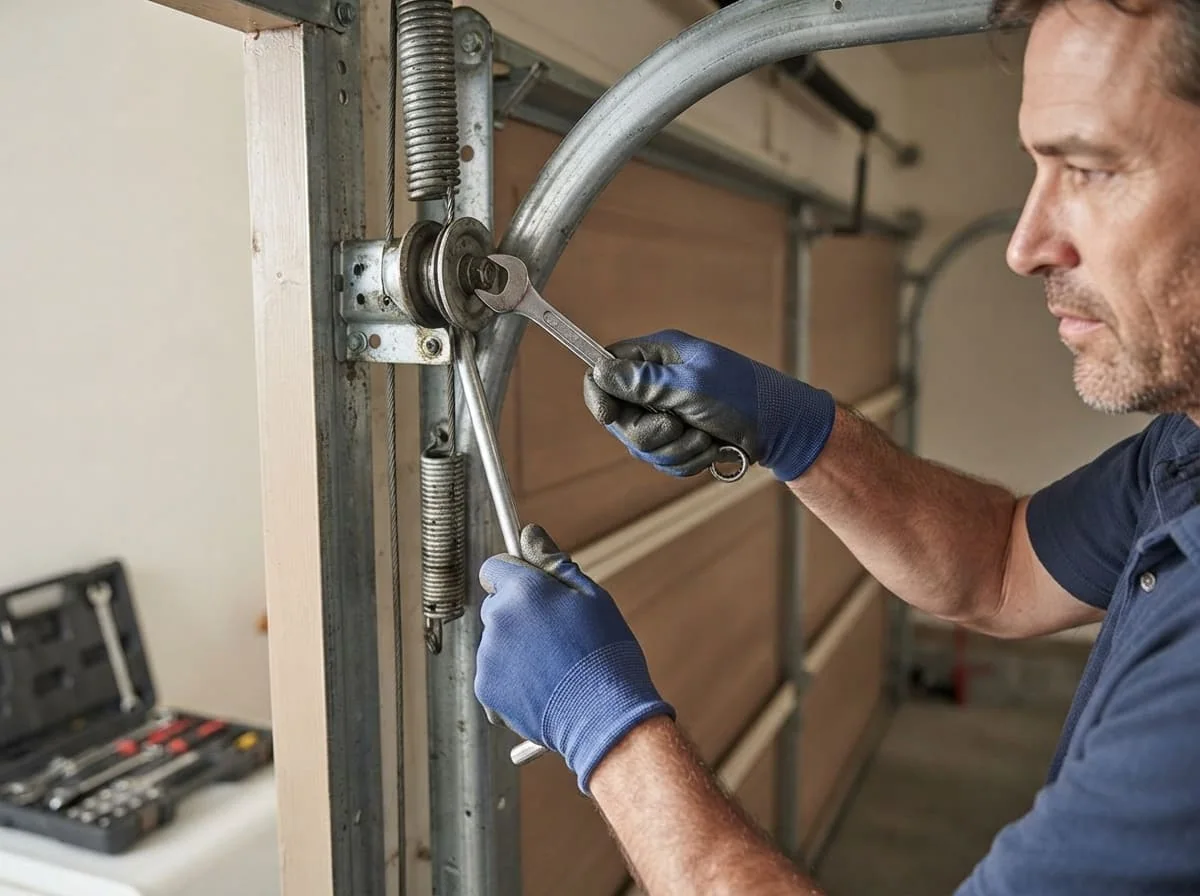
Look at the bottom of your garage door tracks, roughly 4 to 6 inches off the floor, and you'll find two small plastic boxes facing each other from opposite sides of the opening. Most homeowners never think about them until the door refuses to close, the opener starts reversing halfway down, or the wall control just blinks. Those boxes are the safety sensors, sometimes called photo-eyes, and they are the single most important safety feature on a residential garage door system after the springs themselves.
Since 1993, federal law has required every residential garage door opener manufactured or sold in the United States to include an external entrapment protection system, typically a photo-eye sensor pair, in addition to the reversing mechanism built into the opener itself. The U.S. Consumer Product Safety Commission pushed for this requirement after tracking a pattern of injuries and deaths involving garage doors closing on children and pets who couldn't get out of the way in time. If you own or rent a home built or renovated after that year, the opener is supposed to have this system, and it should never be bypassed, unplugged, or wired around.
When people ask us to just disconnect the sensors because they're being annoying, we tell them the same thing every time: don't do it. A door that closes on a toddler, a dog, or a bike leaned in the wrong spot isn't a hypothetical. It's the exact scenario this law was written to prevent, and it takes far less force than most people assume for a moving door to cause serious harm.
Inside the Photo-Eye System: How It Works
The system is simpler than it looks. One sensor, usually marked with a small light, is the transmitter. It sends a continuous, invisible infrared beam across the garage door opening to the second sensor, the receiver, mounted directly across from it. As long as that beam is unbroken and the receiver can see it, the opener is free to close the door normally.
The moment something breaks that beam, a person walking through, a stored bike rolled into the path, a low-hanging extension cord, even a spider web thick enough to scatter the light, the receiver loses its signal and tells the opener to stop and reverse a closing door immediately. It won't matter whether the obstruction is still there a half-second later. Once the beam is interrupted during a close cycle on most openers, the door reverses and won't attempt to close again until you press the button.
This is a passive, always-on safety net that works independently of the opener's mechanical force-sensing reversal system, which detects resistance if the door physically strikes something. The photo-eyes are meant to catch problems before contact happens at all, which is why alignment and a clear sightline between the two units matters so much.
Reading the LED Indicator Lights
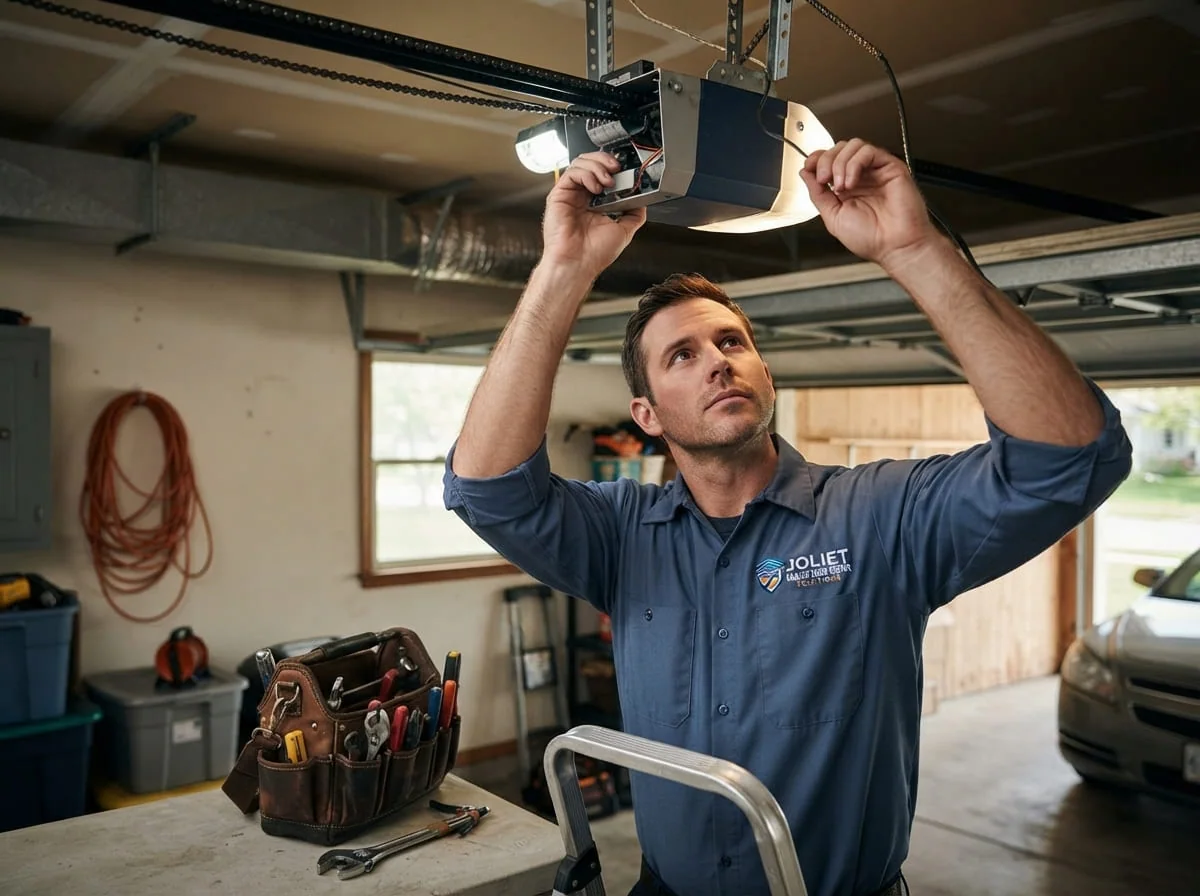
Both sensor units have a small LED, and learning what that light is telling you saves a service call in a lot of cases. The exact convention varies slightly by opener brand, but the general pattern holds across most residential systems:
- Solid, steady light on both sensors: the beam is aligned and unbroken. The system sees a clear path and should allow normal operation.
- Flickering or dim light: often a sign of a weak or marginal alignment, a partially dirty lens, or a wiring connection that's making intermittent contact rather than a clean connection.
- No light at all on one or both units: usually points to a power problem, a wiring break, a disconnected connector at the sensor or at the opener head, or in some cases a genuinely dead sensor unit.
- Light on the transmitter but nothing on the receiver: this is the classic alignment or obstruction symptom. The transmitter is sending power fine, but the receiver isn't picking up the beam, which means something is physically blocking or deflecting it.
Check both sensors, not just one. A surprising number of service calls turn out to be a homeowner staring at the sensor with the good light and assuming everything's fine, when the problem sensor is on the opposite side of the door.
Misalignment: The Number One Cause of Sensor Trouble
In our experience, misalignment causes more sensor-related service calls than every other cause combined. The brackets holding these sensors to the track are lightweight, and it doesn't take much to knock one out of true. A car bumper tapping the sensor bracket while backing out. A garage broom or ladder leaned against the track. A kid's bike handlebar catching the bracket on the way past. Even a firm push while sweeping the garage floor can twist a bracket just enough to throw off the beam.
The frustrating part is that misalignment is often invisible to the eye. The sensor can look perfectly straight and still be off by the few degrees it takes to miss the receiver lens entirely, especially over a distance of 8, 9, or 16 feet depending on your door width. This is why a door can work fine for months and then suddenly start refusing to close with zero warning and no obvious cause. Nothing failed. A bracket just got nudged.
The fix is almost always the same: loosen the wing nut or mounting screw holding the bracket, gently adjust the angle by hand while watching the LED indicator, and retighten once the light goes solid. It's a five-minute fix once you know where to look, but it requires patience, because the tolerance is tight and the movement needed is often just a few millimeters.
Dirty Lenses, Sun Glare, and Illinois Weather
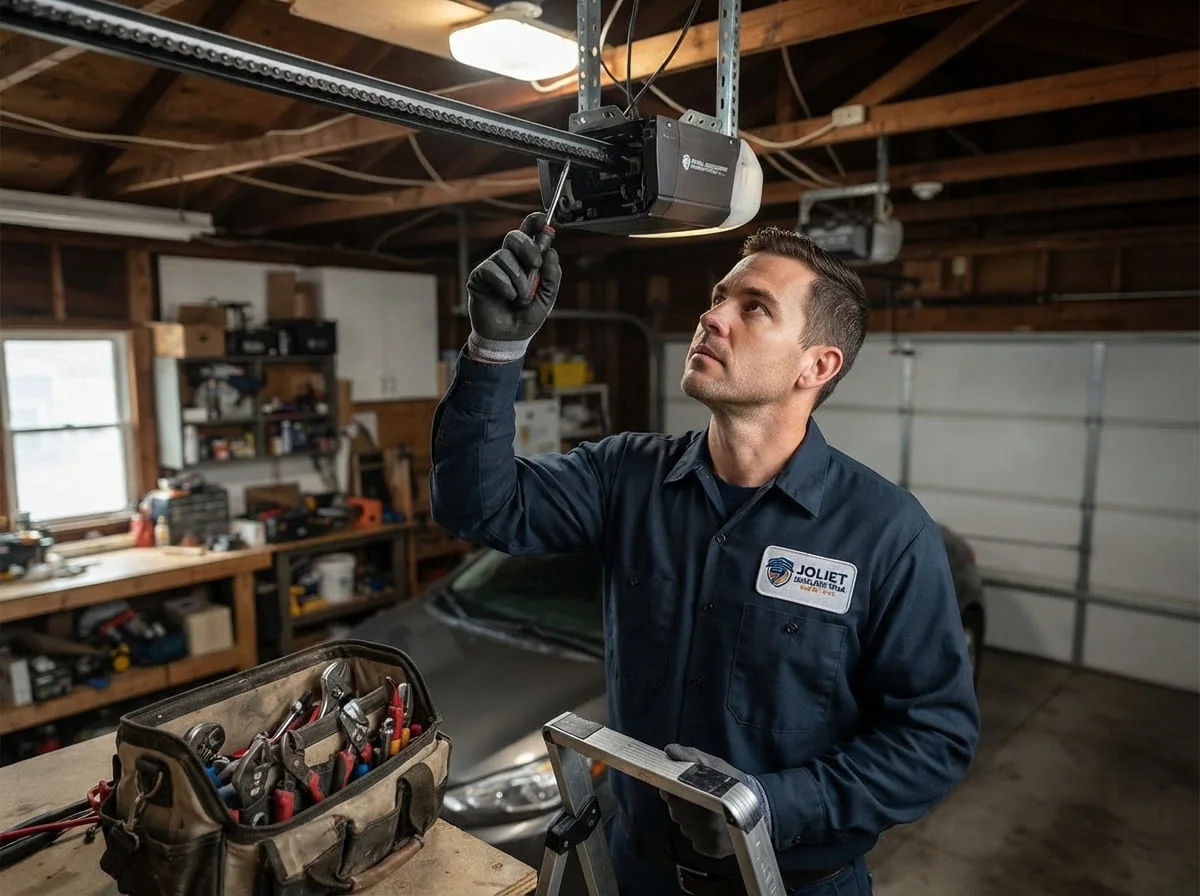
The second most common cause is simply a dirty or obstructed lens. These sensors sit low, close to the garage floor, which means they collect dust, cobwebs, lawn clippings, road salt residue tracked in on tires during a Joliet winter, and general grime faster than almost anything else in the garage. A thin film of dust can be enough to scatter the beam just enough that the receiver reads it as broken, especially as the lens gets progressively dirtier over a season.
Direct sunlight is a more seasonal problem, but a real one. If your garage faces a direction where morning or late-afternoon sun shines directly into the receiver lens at a low angle, the ambient infrared in sunlight can overwhelm the sensor's ability to distinguish the opener's own beam from background light. This shows up as a door that won't close reliably at certain times of day, and works fine an hour later once the sun angle changes. Homeowners sometimes mistake this for a flaky sensor when the real fix is a small shade, a visor, or simply repositioning the transmitter and receiver a few inches to change the geometry.
Will County's freeze-thaw winters add another wrinkle. Cold temperatures can cause slight settling or shifting in a concrete slab and the track mounted to it, which over a season or two can nudge sensor brackets out of alignment even without anyone touching them. If your sensors have been reliable for years and suddenly start acting up every winter, seasonal slab movement combined with a slightly loose bracket is a reasonable place to start looking.
Wiring Problems and Other Less Obvious Causes
When cleaning and alignment don't resolve the issue, wiring is next on the list. The low-voltage wire connecting each sensor back to the opener head runs along the track or up the wall, and it's vulnerable to a few specific problems over an 11-year-old install or even a newer one: a staple or nail driven through the wire during an unrelated project, a connection at the sensor terminal that's corroded or simply never been fully seated, chewed insulation from mice or squirrels that get into a garage over the winter, or a wire that's been stretched and partially pulled loose from repeated bumping.
A quick way to check without any tools: gently wiggle the wire at both the sensor end and the opener head end while watching the LED. If the light flickers or drops out as you move the wire, that's a strong sign of a bad connection rather than an alignment or dirt problem. Wiring issues are also the most likely explanation when a sensor shows no light at all rather than a dim or flickering one, since a fully broken circuit provides no power to the LED.
Less commonly, the sensor unit itself simply fails after years of temperature swings and vibration. These aren't expensive parts, and a technician can usually diagnose a dead unit quickly by swapping in a known-good sensor to isolate whether the problem is the unit, the wiring, or the opener's logic board.
A Real Step-by-Step Troubleshooting Sequence
Here's the sequence we actually walk homeowners through over the phone before scheduling a visit. Work through it in order, since each step rules something out before moving to the next.
- 1. Look at both LEDs. Note whether each is solid, flickering, or dark. This tells you whether you're likely chasing alignment, power, or wiring.
- 2. Clear the sightline. Remove anything stored between or near the sensors, even temporarily, to rule out an obstruction you're not noticing.
- 3. Wipe both lenses. Use a soft, dry cloth. Don't use glass cleaner directly on the lens; a residue film can cause the same scattering problem as dust.
- 4. Check for direct sunlight. If the problem only happens at certain times of day, temporarily block direct light onto the receiver with a piece of cardboard and see if the door closes normally.
- 5. Inspect the brackets by eye and by hand. Look for a bracket that's visibly bent, angled, or loose enough to wiggle.
- 6. Loosen and realign. With the door disconnected from auto-close (or with a helper watching the LED), gently adjust one sensor at a time until the receiver's light goes solid, then retighten firmly.
- 7. Wiggle-test the wiring. Flex the wire gently at both ends while watching the LED for flicker or dropout.
- 8. Test a full close cycle. Run the door several times in a row, since intermittent problems don't always show up on the first try.
If you've gone through all eight steps and the door still won't close reliably, or the sensors check out fine but the door still reverses or won't respond, it's time to call a technician rather than keep guessing. At that point the cause is often something beyond the sensors themselves, which we cover next.
When a Sensor Issue Points to a Bigger Problem
Most sensor complaints really are just sensors: alignment, dirt, sun, or a wiring nick. But a sensor symptom can also be the first visible sign of a different underlying issue, and it's worth knowing the difference so you don't spend an afternoon realigning brackets that were never the actual problem.
A door that reverses even when the sensors test perfectly aligned and clean may be reacting to a worn or damaged roller, a track that's slightly bent or pulling out of parallel, or cable tension that's uneven side to side, all of which can make the door bind or jerk in a way the opener's force sensor misreads as an obstruction. A door that closes partway, stops, and reopens on its own, with both sensor LEDs showing solid, often has more to do with opener force settings or a spring that's lost tension than with the photo-eyes at all.
Pay attention, too, to when the sensor problem started. If it coincided with a car bump, a DIY track adjustment, or storm damage to the garage structure, the sensors may be a symptom of something knocked out of alignment more broadly, not the root cause on their own. And if you notice the door struggling, making new noises, or moving unevenly in addition to a sensor fault, that's a sign the opener is fighting resistance somewhere in the system, which is worth a full inspection rather than a sensor-only fix.
As a rule of thumb, if you've cleaned, realigned, and wiggle-tested the wiring and the door is still unreliable, or if the sensor problem showed up alongside any other symptom, grinding, sagging on one side, a door that feels heavier than usual, that's the point to get a technician out rather than keep adjusting brackets on your own.

Danny Kowalski
Owner and lead technician at Joliet Garage Door Repair Solutions, serving Joliet, IL since 2015.
FAQs
Can I just bypass or disconnect my garage door safety sensors?
We strongly advise against it, and most openers won't let you anyway without disabling auto-reverse safety features required by federal law. Bypassing the sensors removes the one system specifically designed to stop a closing door before it strikes a person, pet, or object. If the sensors are causing problems, the fix is almost always cleaning, realignment, or a wiring repair, not removal.
Why does my garage door only fail to close at certain times of day?
This is a classic sign of sun interference. Direct or low-angle sunlight hitting the receiver sensor can overwhelm its ability to read the opener's infrared beam, especially in early morning or late afternoon depending on which direction your garage faces. Shading the receiver or slightly repositioning it usually resolves this.
How much does it cost to fix or replace a garage door sensor?
Cost depends on whether the fix is a simple realignment, a lens cleaning, a wiring repair, or a full sensor unit replacement, along with how accessible the wiring run is. We provide a free upfront quote before any work begins so you know exactly what you're paying for and why, rather than guessing at a number that doesn't match your specific setup.
Is it dangerous to keep using a garage door with a sensor problem?
Yes, treat it seriously. A malfunctioning or misaligned sensor means the door may not detect an obstruction, a person, a pet, a vehicle, before closing on it. If your sensors are inconsistent, don't rely on the door until the issue is diagnosed and fixed. It's not a cosmetic annoyance; it's the system standing between a closing door and someone standing under it.
How do I know if the problem is the sensors or the opener itself?
Check the LED lights on both sensor units first. If both show a solid light and the door still won't close or still reverses, the issue is more likely in the opener's settings, the door's mechanical components like rollers and tracks, or spring tension, rather than the photo-eyes. If either LED is dark or flickering, start with the sensor troubleshooting steps before assuming the opener itself is at fault.
How often should I clean or check my garage door sensors?
A quick visual check and lens wipe every couple of months is reasonable for most households, and it's worth doing right after any work in the garage that involves moving items near the tracks. If you park a vehicle in the garage, check the sensors any time a bumper or mirror has come close to a bracket, since that's the most common way alignment gets knocked off.
Have a Garage Door Problem Right Now?
Skip the guesswork — call Joliet Garage Door Repair Solutions for a fast, honest diagnosis.